
Your WooCommerce analytics, now always with you! We are excited to introduce the first version of the Ninjalytics Android mobile app, now available in open beta. This early release brings your WooCommerce reports directly to your phone, so you can check your store’s performance anytime, anywhere.
Why we built the mobile app
If you have ever managed a WooCommerce store, you know the feeling: you just want a quick check-in without logging into WordPress, opening reports, and clicking through tabs. Ninjalytics has always been about simple, useful analytics – and the mobile app is the natural next step.
It is designed for fast, everyday insights: checking performance, reviewing reports, and keeping an eye on key store metrics wherever you are.
What you can do with the Ninjalytics Mobile App
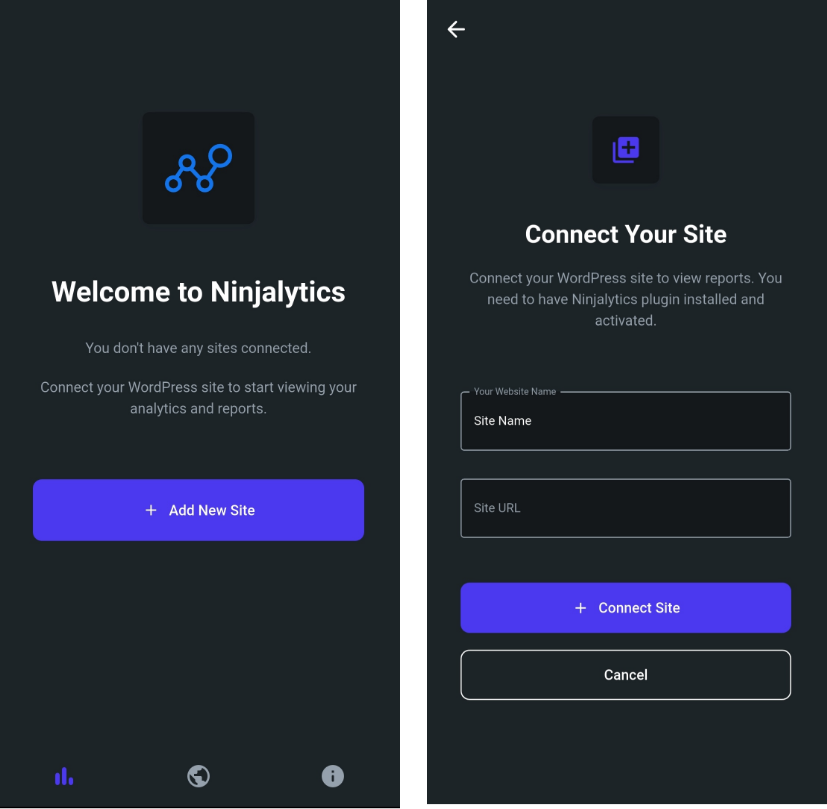
1. Connect one or multiple WooCommerce sites
You can connect multiple stores and easily switch between them. Adding a site takes less than a minute, and there is no limit to how many sites you can connect.
2. Generate an API key directly from your WordPress dashboard
You will first see a screen where you can enter your site name and website URL to add a new site. After clicking the button, you will be redirected to your WordPress login page.
The app automatically generates a Ninjalytics API key for you. You only need to enter a name for the API key (for your own reference) and click Allow. The key lets the app securely fetch your reports and stay connected to your WordPress site.
Once logged in, a simple form will appear where you can enter an API key name for your own reference. Click Allow to generate the key.
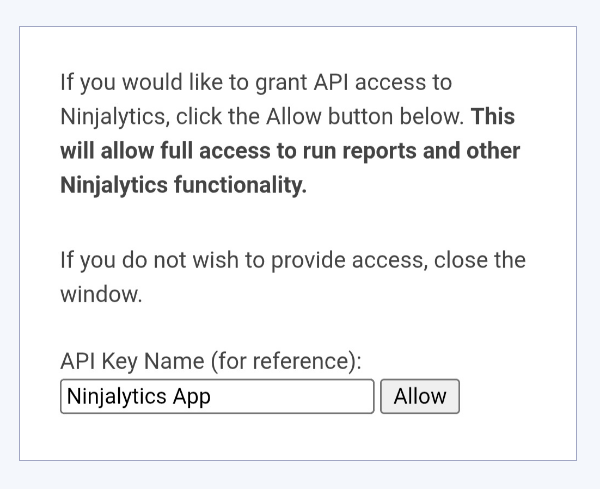
After a success message appears, close the window and return to the app. Your connected website will now be visible in the sites list.
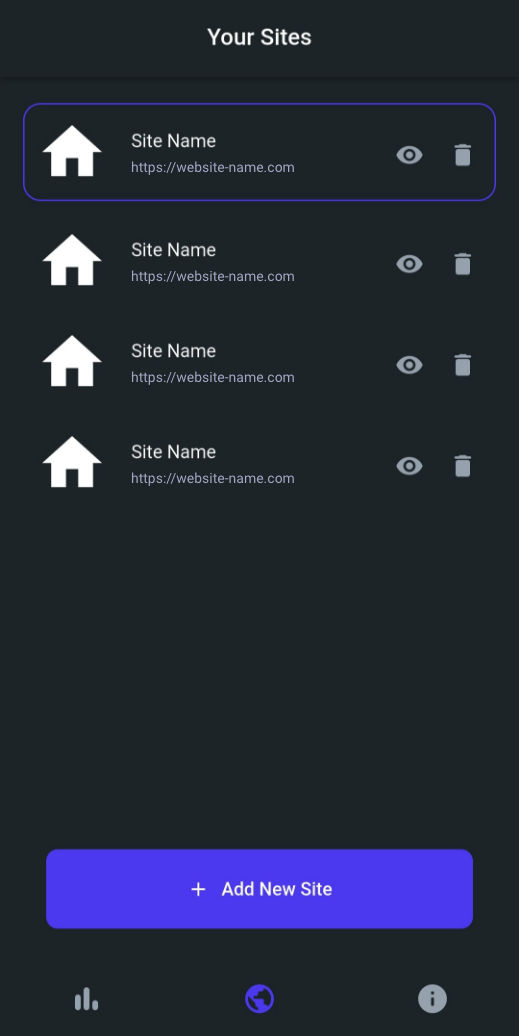
3. See an overview of all connected sites
After you connect a site, it appears in your sites list. From there, you can open any store and instantly access its reports.
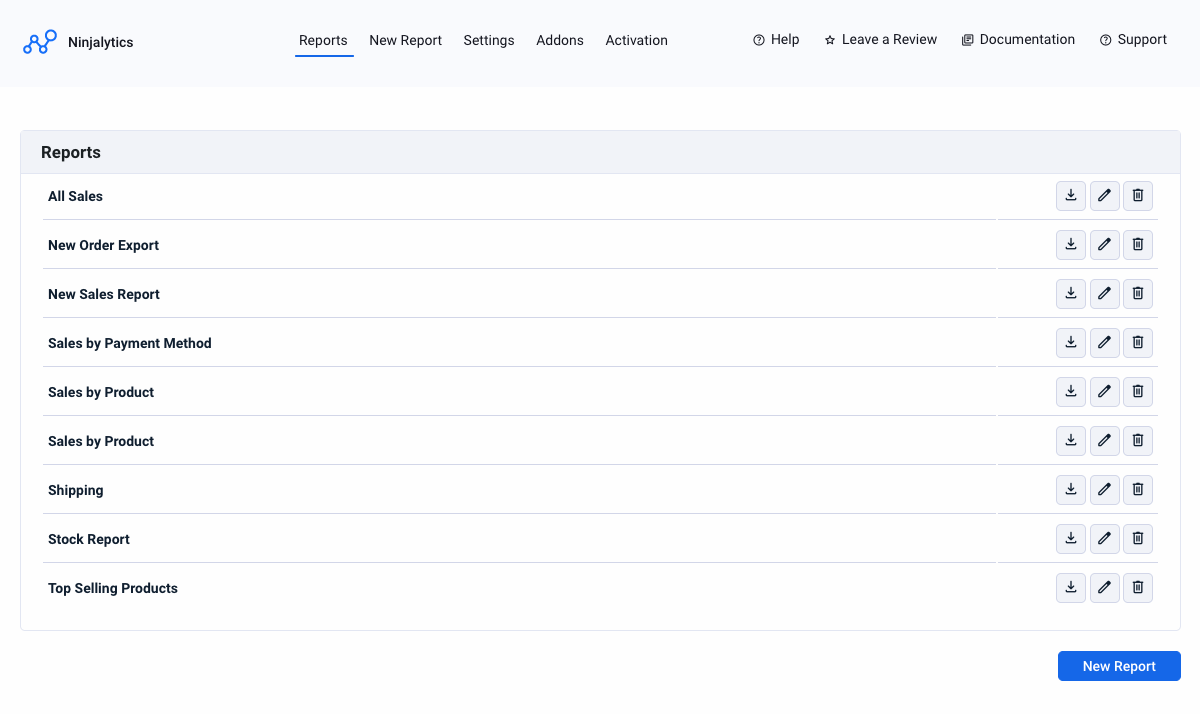
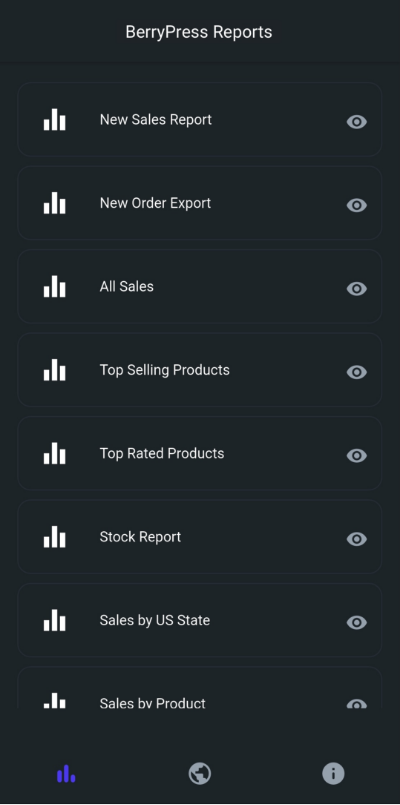
4. View all Ninjalytics reports (including custom templates)
Once your site is connected, your reports appear automatically in the app:
- Standard template reports
- Custom templates you have created
- Any new templates added in future releases
No additional configuration is required. The app mirrors what you already have in your WordPress dashboard.
Note: Report editing in the mobile app is currently limited to date range selection. Full report customization is available in the Ninjalytics Pro plugin.
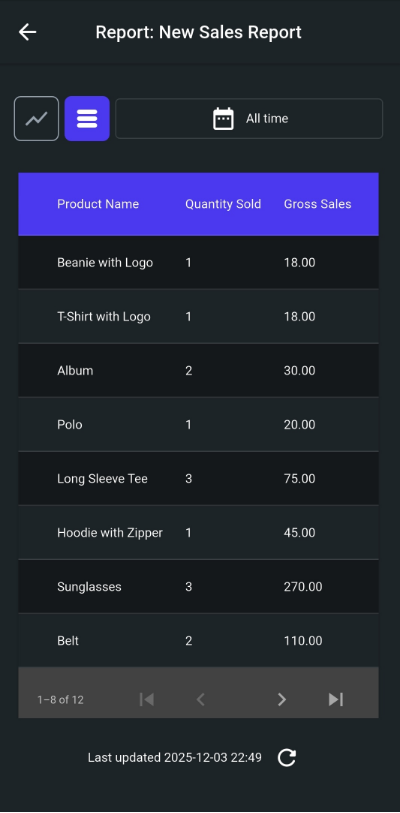
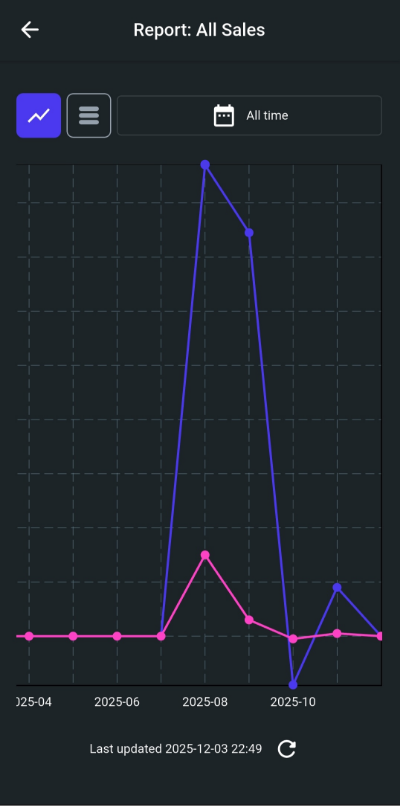
5. Switch between table and chart views
The app gives you two display options:
- Table view
- Chart view (if a report supports charts)
You can switch between them with a single tap.
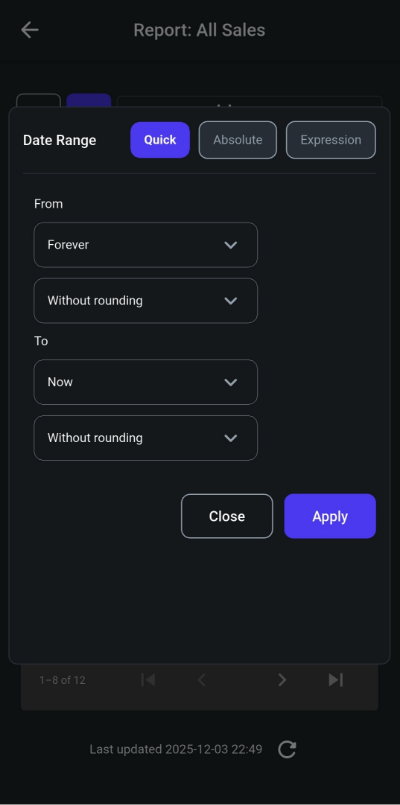
6. Change the reporting period easily
When viewing a report in the Ninjalytics app, you can choose from three different date range modes depending on how you prefer to define your reporting period.
Quick Mode
This mode allows you to set start and end times relative to the moment the report runs. You can choose Now or enter a number of days or months in the past (or in the future for the end date). You can also round results to the start or end of the day, or to the start or end of a month to capture full calendar ranges.
Absolute Mode
In this mode, you manually select the exact date and time for the start and end of the reporting period. Both the start and end values are inclusive.
Expression Mode
This mode lets you define dates and times using PHP-compatible expressions, such as first day of last month, yesterday 00:00, or last Monday.
Why beta?
This is our first mobile app release, and we want to shape it together with you.
By testing the app now:
- You get early access to new features before regular release
- Your feedback directly influences what we prioritize next
We’re building the app with the same philosophy as Ninjalytics itself: simple and useful.
Requirements before installing
Before installing the app, please make sure your site is running the latest version of the premium Ninjalytics plugin (0.0.5+).
Download the beta
You can install the Ninjalytics Android app from here: Download on Google Play and learn more about Ninjalytics Pro plugin here.
Stay updated
If you want to stay informed about new features or the upcoming iOS version, feel free to subscribe to our newsletter: Subscribe to our newsletter